Fake Tan – Guide For Beginners

if you follow me on Instagram you would know that i was testing out some products for fake tans since we are in the summer and i never have enough time to tan, ” so fake tan was my only savior in time for the upcoming events i have.) I was super excited because I had been thinking of using some self-tanning foam or something similar; but I’m totally inexperienced in this area and I did not know which one to buy. Hence, before confirming to this brand that I did want to try their products, I did a little research about them and I was pleased to only find positive feedback.
One of the things that caught my attention the most was that it is an odorless product like seriously NO STINKY SMELL, This was very important for me as many people told me that most fake tan lotions smell like ‘wet dog’ LOL i imagine that’s not good and I figured it wouldn’t be nice to go around with that smell. In addition, its exclusive eco-friendly formula is free of parables and other harsh chemical agents, it is not tested on animals and most of its ingredients are completely natural! (You can read more about its ingredients and benefits in the following link).
As you know, I’m from Lebanese American and my skin is naturally tanned (or at least it used to be . . .). However, I have been living in the hiding lol for all the summer so i don’t have the Lebanese skin glow like I used to. So anyway let’s follow what i did and hopefully it could be your guide so you don’t start off from 0
1.- Shave or wax the legs before applying the tanning lotion. Thick hair can get in your way and cause an uneven tan. Some people recommend removing the hair in the arms if it is thick, otherwise it is not necessary.
2 .- Exfoliate the entire body to remove dead skin cells and to make the surface softer. This way it is easy to apply and it is absorbed by your skin quicker. Pay special attention to the usually driest areas such as the elbows, knees and ankles. Note that rough skin can cause an uneven tan. I used one of these gloves I got in Primark and a Sanctuary scrub.

3.- Moisturise the skin, after exfoliating it is important to apply moisturising lotions, especially in the dry areas mentioned above. It is recommended to wait at least half an hour after applying tit on the body before moving on to the tanner.
4.- Do not apply the tanning lotion with your bare hands. Use a tanning mitt – you can get them at any pharmacy or shops like Primark. If you do not have one then use latex gloves to protect your hands. PS: Do not hold the bottle with your bare hands either, because if the bottle drips your palms will get stained (it kinda happened to me . . .).
5.- Begin applying the product from the bottom to the top, start with the legs and then go up until you reach your torso and arms. Use circular movements to achieve an even and natural tan. Apply more product in large areas such as the thighs, calves, chest and back etc. and whatever is left, blend it into ankles, knees, elbows and hands where you do NOT apply the product directly as these areas darken faster. Ask someone to help you with your back.
6.- It is best to put on at night since you must let it work and act for four to eight hours so it is easier to leave it on. However, be sure to let it dry for fifteen minutes to half an hour before going to bed to avoid staining your sheets. Bathe in the morning to remove the surplus and voila! You are ready.
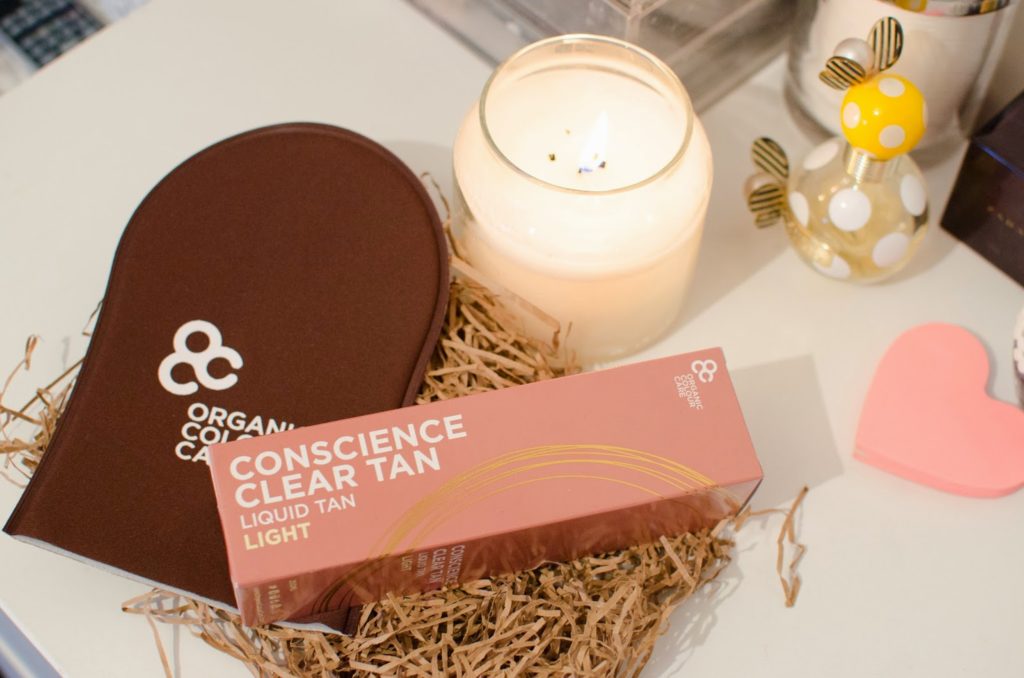
Conscience Clear Tan kindly sent me two tones – the light and the medium tone. I used the medium shade and I really liked the results. I was afraid to end up looking like an Oompa Loompa – haha- but I was very happy with the color I acquired. I love that it looks very natural and I am happy that I tried it and will definitely use it again